˜
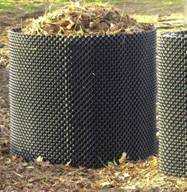
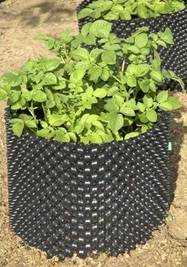
Adjustable Size to 25” Diameter X 19” Height
˜
Lightweight
and Rolls up for Easy Storage
˜
Effective
Aeration due to Hundreds of Air Holes
˜
Assembles
with just 2-3 Easy to Use Fasteners
˜
May join 2
or more together for a larger bin
˜
Lasts for
Years
˜
Made of
Recycled Plastics
˜
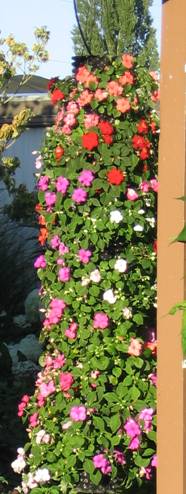
By enlarging
some of the holes, strawberries, herbs, flowers, or vegetables may be grown
along the sides, utilizing it as a planter
|
|
DIRECTIONS FOR ASSEMBLY:
˜
Assemble
Ben’s Potato Tower™ with the Air Holes towards the outside and adjust with at
least a 2” overlap.
˜
Insert the
Easy to Use Fasteners through the Air Hole of both layers where the sides
overlap. Turn clockwise to tighten.
˜
Set upright with the two rows of uncut cusps at the top. Your
Potato Tower is now ready to use.
|
|
|
How to Plant:
Cut up the seed potatoes, leaving 3
eyes or more on each piece and plant 5 or 6 pieces in a shallow layer of soil
and compost in the bottom of the potato tower. As the potato vines grow up, add more soil
and compost leaving about 6” of vine exposed until reaching the top of the
potato tower. When the plant dies back
in the fall, simply unscrew the fasteners, peel back the walls of the potato
tower and enjoy the harvest.
Return to Top
|
|